First of all I have to give credit to all the cake people who share their baking wisdom with people like me who like to learn a lot of new tricks! People who've spurred on my baking interests are my Gramma Hines, Gramma Peggy, Mom (remembering homemade cake donuts for some reason right now and my first Wilton decorating kit gift!), Dad (he could cook a perfect 'sunny side up' egg!), 4 sisters, my kids (yep, they're good cooks and inspire me too), Nora Q. (to whom I owe my cake decorating passion), and all the blogs and websites out there in cyberspace! One website that has been particularly useful to me is "Cake Central." Over the past couple of days I've picked up 4 exciting (ok, exciting to me but maybe not to you!), new tips from posters on that site that I experimented with this morning.
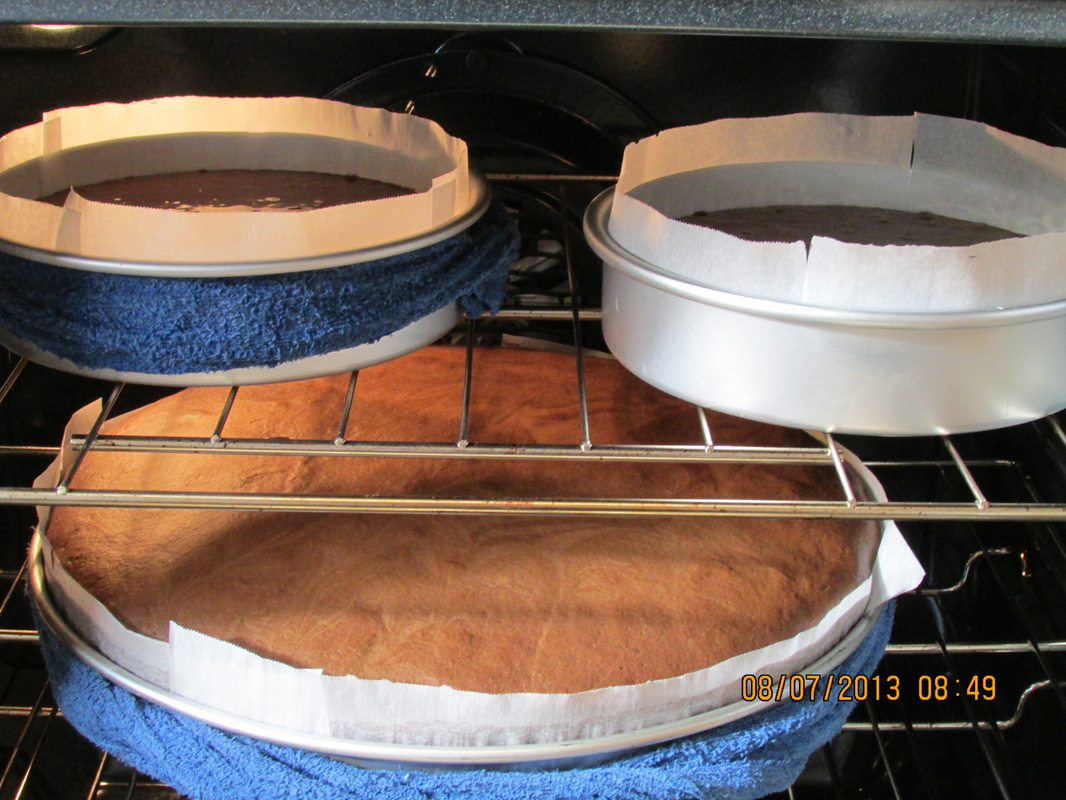
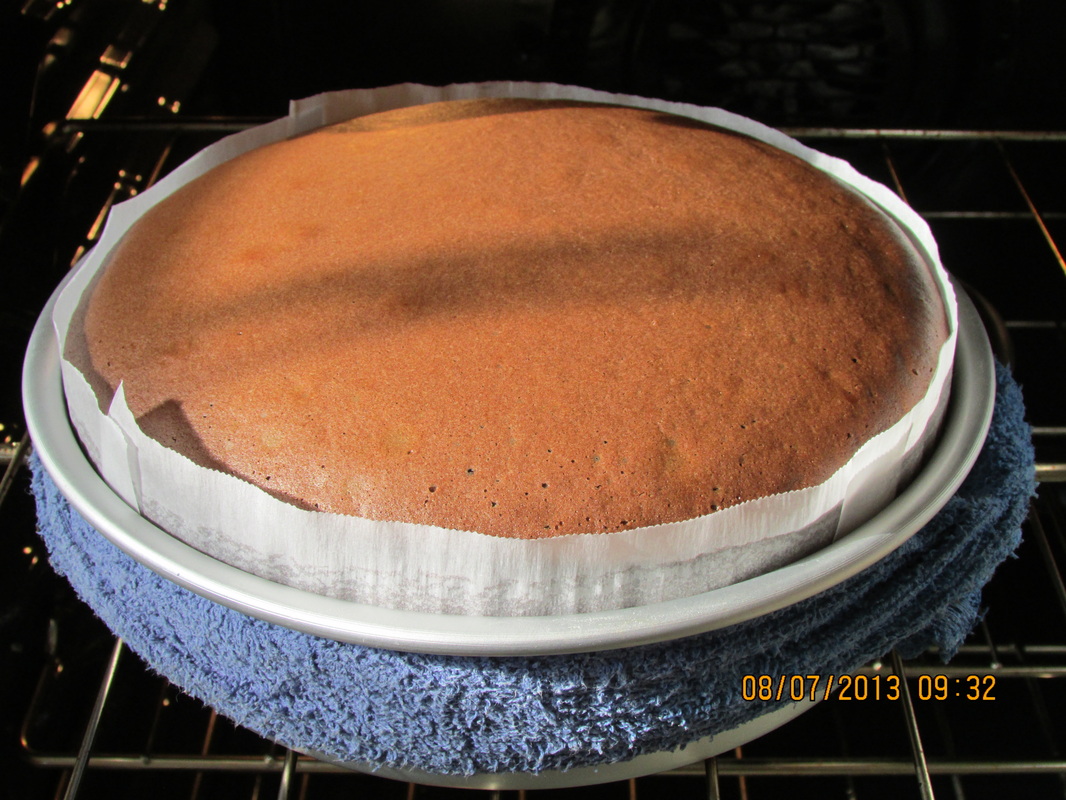
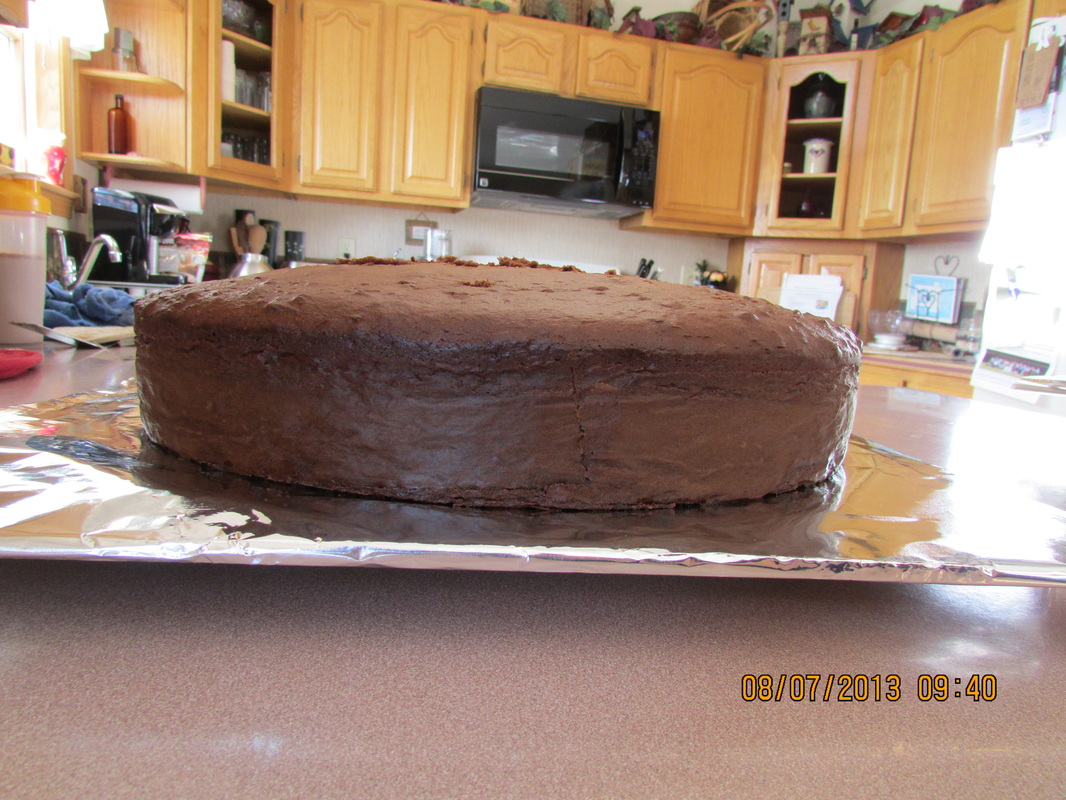
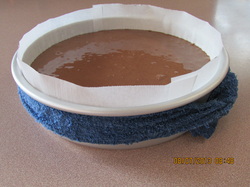 I didn't realize how uneven my cake layers have been in the past! I was always satisfied if the layer raised to the 2" height then I evened out the top using a cake leveler. The extra cake I whack off the tops go into a ziplock freezer bag and into the freezer for cake pops later anyway! When I read about making your own "bake even strips" on Cake Central, I had to try it. I saw the pictures of those "with strips" and "without strips" on other bakers' blogs but had to see it for myself! I could have bought some at Joann's for a bit less than $10 but I figure that $10 I saved can go toward a new Kitchenaid mixer (my 4.5 qt is well over 25 yrs old and still a workhorse)!! I made MANY strips from the towel so maybe I could even say I saved more than $30 (don't know how long the purchased strips are)! I cut/ripped an old towel into 4" strips. Just before popping the pans into the oven, I doused a strip in water, squeezed the excess out, wrapped it around the outside of the pan tucking the ends into itself and was mindful not to get any towel lint in the batter (you could also pin it or use binder clips to hold it onto the pan but I didn't find that necessary). Below are pics showing the results of layers (2 layers on top oven shelf) using the bake even strips and those without (both used parchment paper collars). I baked the layers using the same batch of batter and in the oven at the same time, on the same shelf. Needless to say, I'll be using my homemade 'towel' bake even strips from now on! One disadvantage...fewer cake crumbs for cake pops! 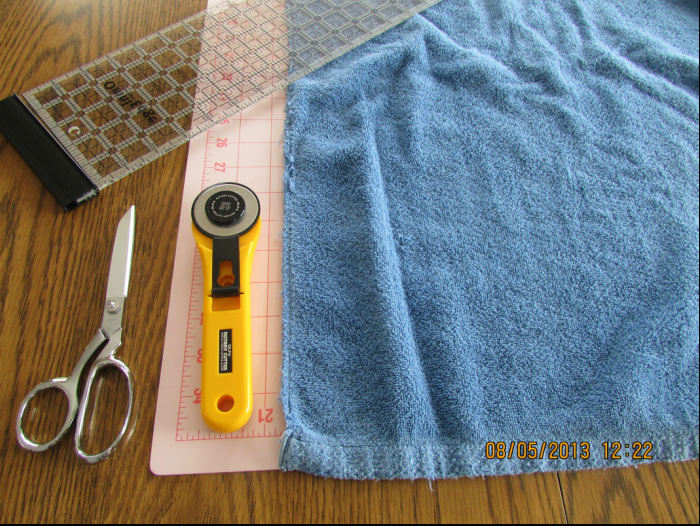 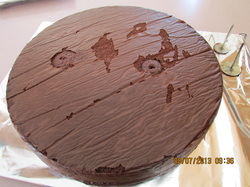 Sometimes it's really tricky to get the center of a larger cake done without over baking the outsides. I've seen those "heating cores" to use to help this issue sold at Joann's but couldn't bring myself to spend the extra bucks for one. Besides, they looked like a hassle to me. I'm glad I didn't because I read about an alternative on Cake Central. I found some old metal flower nails (thought I had more but could only find 2, boo), slathered them with the pan goop (see post below), placed them, evenly spaced, upside down in my prepped pan (next time I'll find more flower nails to use), poured in the batter and baked. This picture is the cake turned out of the pan with flower nails removed (they slipped right out-thank you Pan Goop!). It was evident to me how the center was more evenly baked using the flower nails as heating cores. Next time it'll even be better with more flower nails!
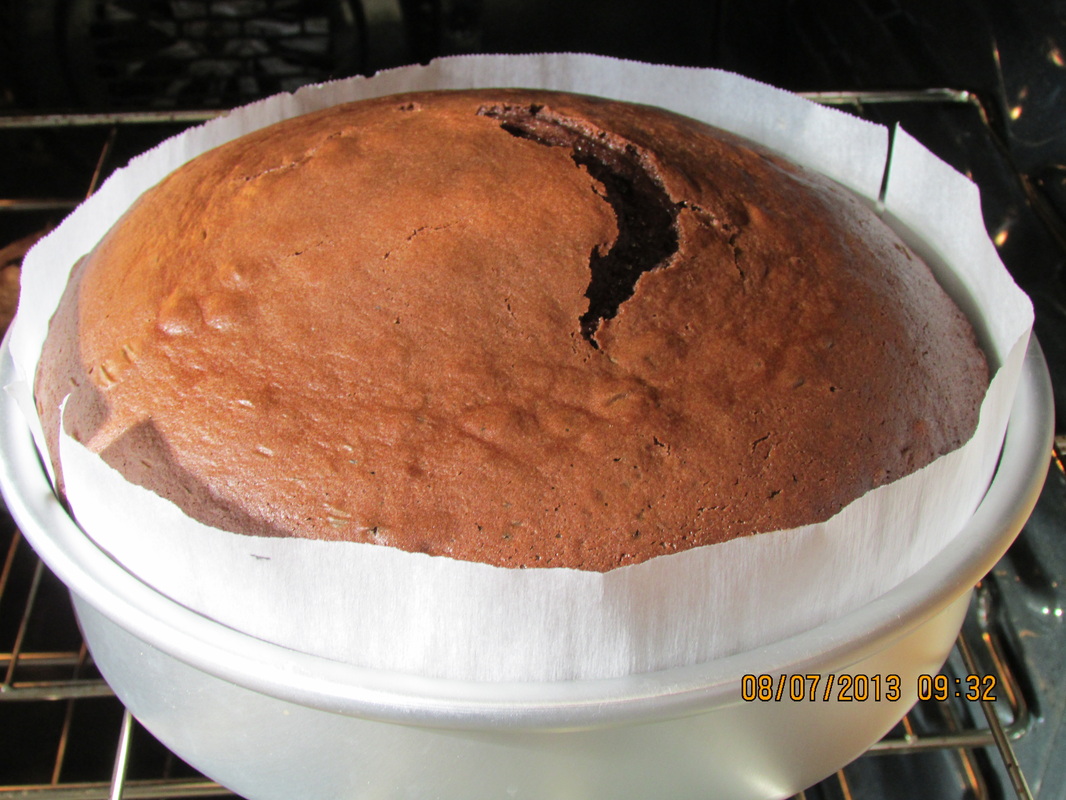
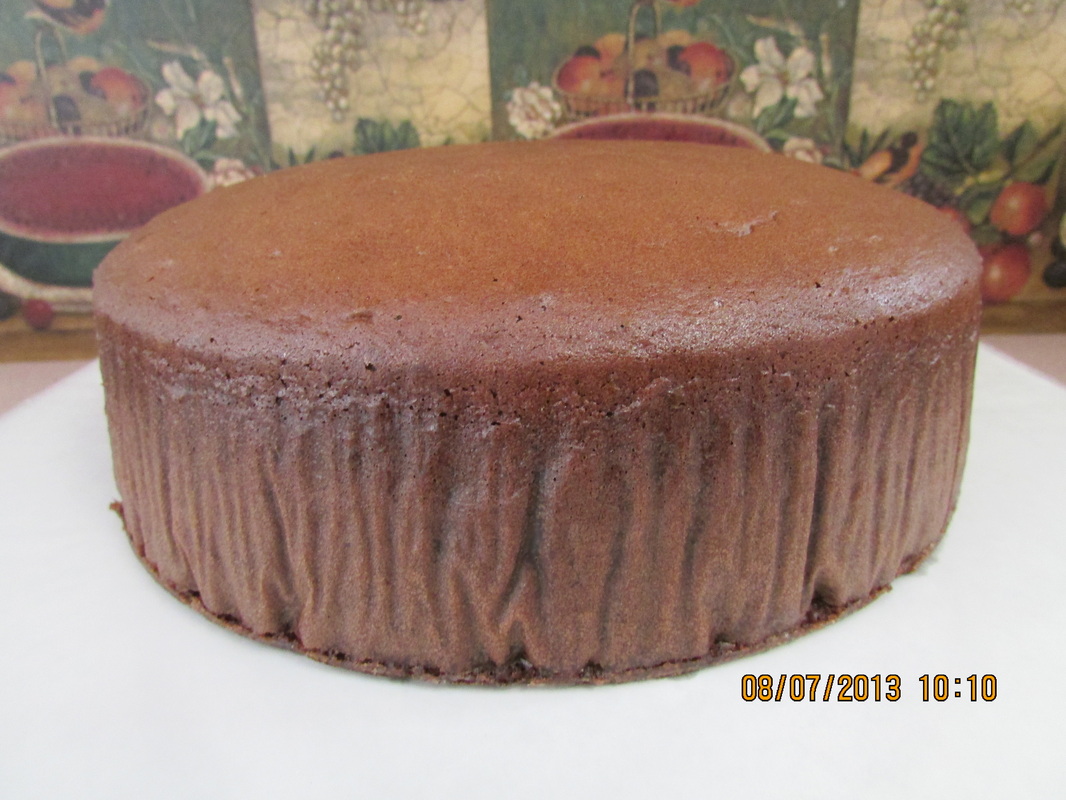
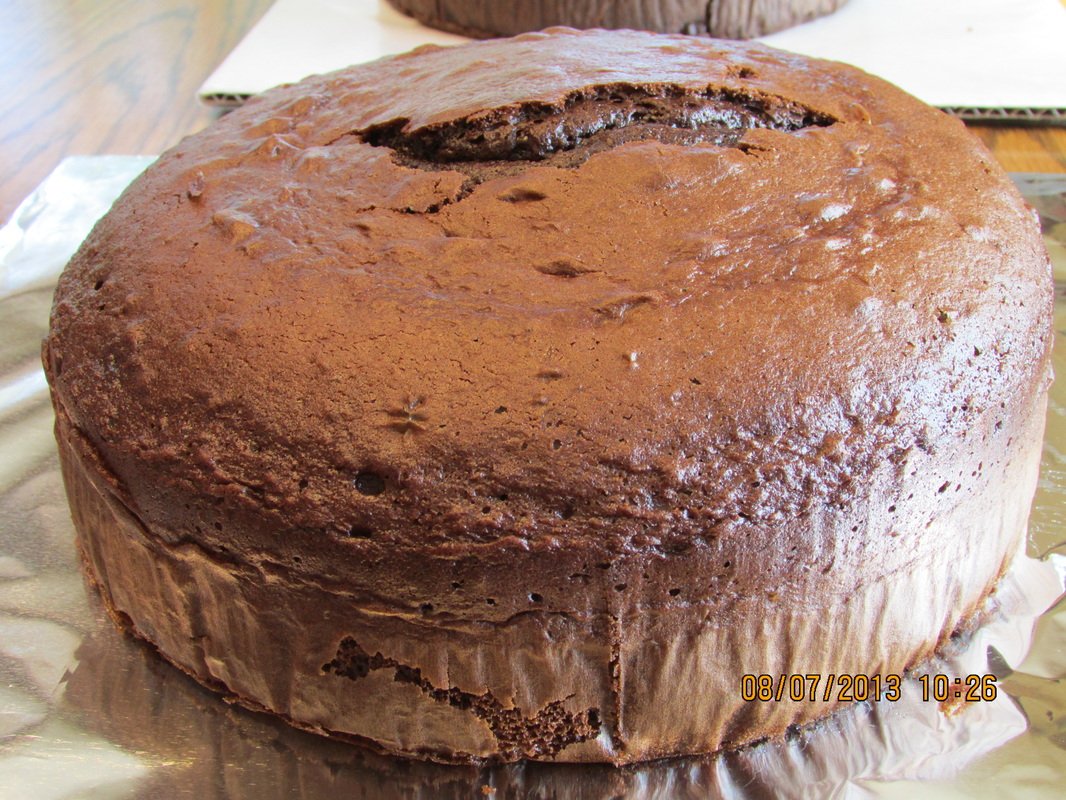
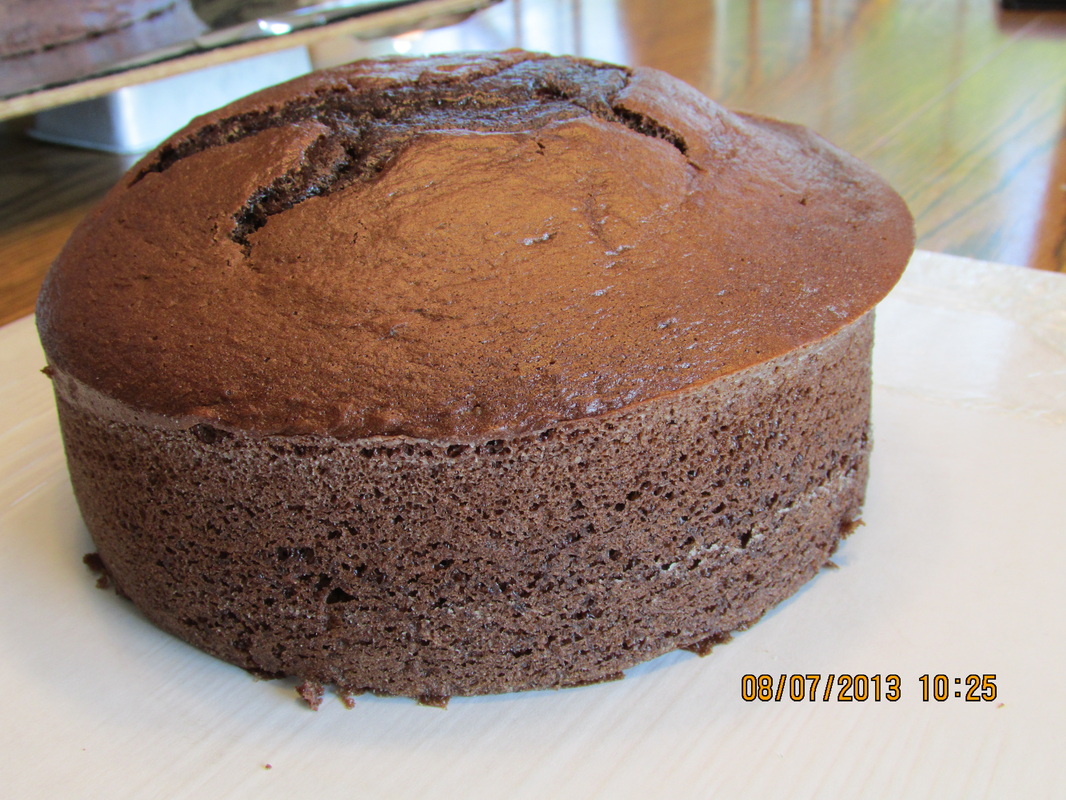
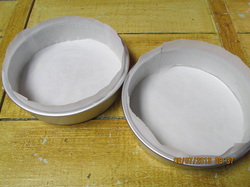 Paper collars are parchment paper strips used on the inside wall of your cake pan. After slathering with pan goop, I put 2 1/2" strips against the insides of the pans before pouring in the batter. The collars allow the batter to creep up the sides of the pan without spilling out over the top lip of the pan (I like a nice tall layer), thus no crusty sides or lips at the top of your layer. See the pics below for examples of a layer without using the collars and one with the collars (left to right, top to bottom...#1 batter in pans with collars, #2 14" using collars coming from oven, you can see how it's actually taller than the pan, #3 14" after released from pan and parchment paper off, #4 no collars used on this layer, take note of the crusty lip spilling over the top (note...on layer in pic #4 I did not use my homemade bake even strips on it either). 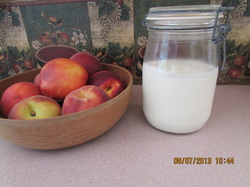 Pan Goop...Mix equal parts of flour (any kind), vegetable oil and shortening (I used Crisco). I whipped it up using my mixer just cuz I like that creamy look. You could whisk it by hand if you're so inclined. Use it as you would any pan release spray but it's a heck of a lot cheaper! You can store it in the frig or at room temp. I've read that if it looks like it's separating, no worries...just whip it up again! I slather the insides of my cake pans with it using a pastry brush prior to laying in the parchment paper on the bottom. My cakes practically slid out of the pans this morning when I flipped them out! I used to coat the insides of pans with Crisco using a paper towel then dust them with flour...no more! I was so excited I made some for each of my girls! 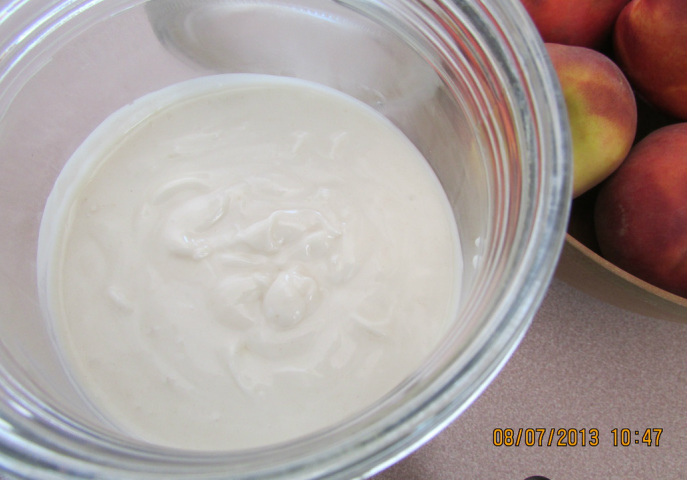 |
AuthorFollower of The One, Wife to 1, Mother of 3, Mother in law to 2, Gramma to 3, teacher of many! Archives
January 2014
Categories
All
|


 RSS Feed
